By George Emanuel
This drill is designed to have you practice a maximal number of movements and tasks with a minimum amount of ammunition. It is also a wonderful way to learn to pace yourself better if you like to go fast. Remember, fast by itself is only fast and there is an old saying which has stood the test of time. “You can’t miss fast enough.”
Start with no cover garment and add that as you become competent and skilled without it!
Now you will need your firearm, your holster, (no, not the floppy piece of crap made of fabric, but a real Kydex or Leather holster) hopefully your EDC firearm, and fifty rounds of ammunition.
Start with a full magazine, chamber a round, and replace the full magazine with the second, which is empty. It is empty because its job is only to lock the slide to the rear after the round you previously chambered is fired.
Ok, you should now have your loaded firearm in the holster, your loaded magazine in the mag pouch, and the empty magazine in the gun.
Distance at this point is not critical, so get as close as you like. A good rule of thumb is the distance at which you can repeatedly keep all of your shots in a 4” circle every time. Shrink that 4” circle to 1” at 3 yards, 2” at 5 yards, 3” at 7 yards, after all this is a single shot, not rapid fire. Something in between. I don’t care how far, just don’t waste training time walking back and forth to see your results. This is training for using a firearm, not for hiking.
OK, no time limit, at least not for these rounds. We are learning to be efficient and accurate. Speed is a by-product which we will add later without trying to go faster.
GO SLOWLY!!, I’ll explain why when we finish shooting. Trust me, you will never be successful trying to go fast if you don’t start by going slowly.
There are 5 steps to the draw and shot. Use the following cadence One Mississippi, Two Mississippi, etc for timing each of the 5 steps of the drill. Do not cheat. (remember the old saw, “You’re only cheating yourself?) Just because your brain is stupid does not mean you have to be too. The shot needs to be fired at “5 Mississippi”. Do not delay it to get a more accurate shot, you should have done that already. Pull the trigger at “5”.
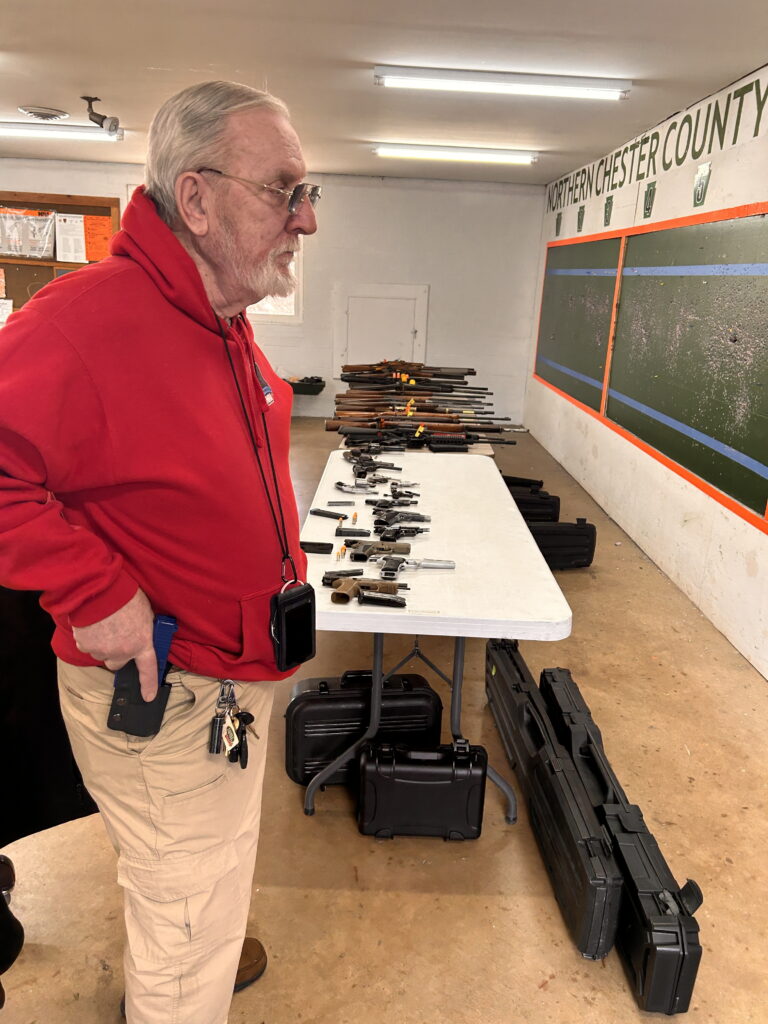
Draw your gun from the holster using the 5-step cadence as follows:
1, the hand moves to grip the gun.
Think about the grip, is it a good firing grip? If not release it and start over. The next time think it through mentally or out loud as you move your hand to the gun. Simultaneously with your firing hand moving to the gun, your support hand moves to touch the sternum with its palm facing you. Go very slow, feel each movement, the texture of the grip, and the compression of the web between your thumb and index finger as you place your hand high into the grip. Feel everything!
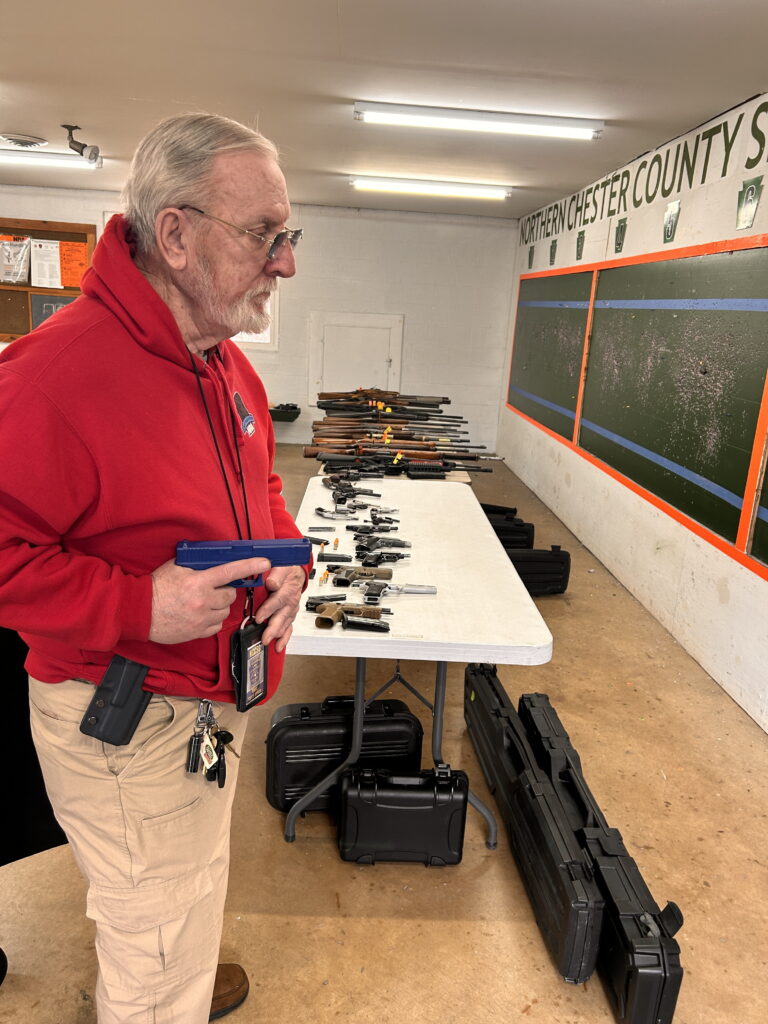
2A, Raise the gun straight up and out of the holster vertically.
Stop at that point and ensure that your elbow is pointing straight to the rear, and not off to the side. 2B After ascertaining that your elbow is pointing to the rear, drop your elbow, the shoulder is the pivot point. After dropping the elbow, the gun should be pointed forward and approximately level and canted slightly away from your body. If the gun is level, go to step 3. If not, practice steps one and two until the gun is level at the end of step two, adjusting to achieve this position. It will become apparent in other drills why it is important to ensure the gun is level. We are canting the gun slightly away from our body so that it does not potentially snag a cover garment, which we will add later, should we need to fire from this position. (This position is known as “retention”.)
3, Refine the travel path to the firing position.
( With trigger Hand Only, support hand stays on chest. As long as no body parts ever get in front of the muzzle, you cannot shoot yourself.)
I want you to mentally draw a STRAIGHT line between the just rotated level gun in step 2B, to the point where you are going to pull the trigger. We are now going to very slowly bring the gun PERFECTLY along that imaginary straight line until we have reached our firing extension. (The shortest distance between two places is still a straight line, travel uses time, so be frugal) If you accomplish step three, five times in a row without dipping (bowling) or flipping (fishing) motions you may go to step four. If you dip or flip, do ten more perfect reps in a row, before proceeding. If after that you still can’t get the gun smoothly and efficiently from the holster to the point where you are going to shoot in front of your eyes, go home, you will only waste ammunition today. (Better still do this entire drill at home with two empty magazines and all ammunition in another room. Be sure to use a safe direction when placing your target.) (Got a laser training set up, even better)
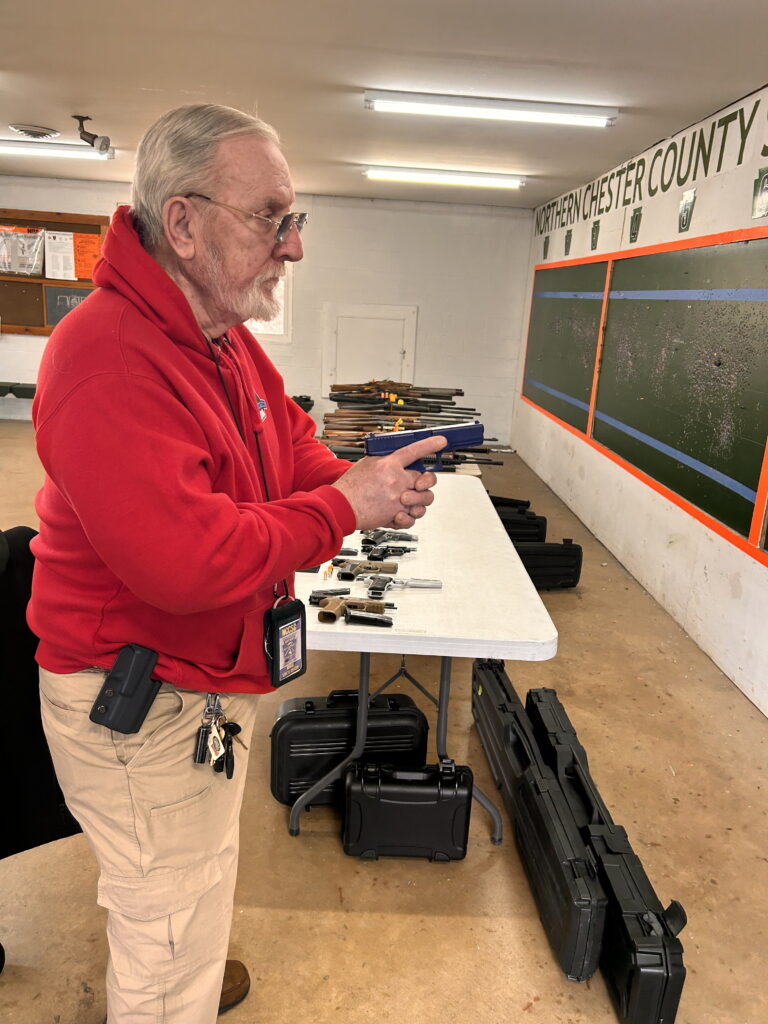
Step 4 Marrying the Hands
To gain a good Two-Handed grip, this step takes good timing, Start the draw from the holster, again go slowly, As the gun begins to rise from position 3, (leveled, muzzle forward toward target) Slowly move your support hand to meet the gun and strong hand at a point 6-8 inches or so in front of your sternum. (stop when they meet and you are in the “Retained Ready Position”) continue forward on a straight line again between your sternum and firing position. This straight line is important as it allows your peripheral vision to pick up the gun and the sights (or red dot) as the gun continues toward the target. Note the Slight upward tilt of the muzzle, imagine a line through the muzzle on a string and follow that line to Position 4. As the gun is traveling forward and up, you should notice the muzzle is inclined slightly, This is what we want.
Now this is going to take some verbal artistry to properly describe so bear with me, it will be worth it!
As you move your gun from position three to position four many instructors will exhort you to “drive the gun” Unfortunately they are wrong. Not because of what they say necessarily but more because of what a bunch of male testosterone-laden Rambo’s hear when he tells them to do so. Part of it is him, but most of it is you. Words matter, and “drive” is not at all correct, not even a little bit.”
Please, take this with all of the love and tenderness with which I express it, “I do not give a damn about your feelings, let alone another instructor’s, if I find a better way, I am going to incorporate it and use it until I find a better one to replace it.” So, if you insist on being married to the way of the masses, carry on.” “Somewhere else!” “On my range, we do it my way.” When you go home, If my way doesn’t work for you, fine, by all means, go back to the way you were doing it. No hard feelings I’ll buy you a beer.
Just give my way a fair try, experience tells me you’ll like it.
When I hear “drive,” I think of a hammer, do you tap a nail into a board? I think of a Ferrari, do you pamper the accelerator like a Kia Soul?, I think of drive as in a point home. These are all aggressive in application. Aggression with a firearm may get you killed. It will unless controlled. Any HIGHLY EXPERIENCED shooter will tell you, that you can only shoot as fast as you can control your gun to achieve the necessary accuracy required by the shot you are taking. Do you shoot rapid-fire from 25 yards? 50 yards? 100? 200? Hell no you don’t you slow down, you take a lot more time. Think Tortoise and Hare with a gun! “The further from the target the longer the interval between sight acquisition and firing.” Period, full stop, put your hand down, don’t argue.
The magic picture hopefully comes into clear focus when we substitute to word “Drive” with the word “Present” One other thing here before I go further, there never has been and I pray there never will be an Emanuel method for anything in this cosmos. I am not looking to attach anything to using this verbiage other than common sense. (I am not now, have never been, nor will ever be politically correct, I am me, you are you, let’s just respect that and we’ll do well together.) While I have never heard anyone else use this term, it being common sense, is something that anyone can claim and I hope you do! I am reminded by this of an ism that I adopted many, many years ago. That being that “Knowledge is to be shared, not displayed, and you certainly do not “Own” it.” It is only on loan and in your temporary care. I try to live by that every day. So I have stuck a big ole pin in my ego and saved the necessity of your assistance.
So, with the above loving caveats and advice let’s move forward.
The time for speed in the draw is in getting the gun from the bolster to position three (leveled) From position three, we want to move quickly (eventually, but not just yet, we are still learning) think of throwing your arms forward, or driving them with the attendant and required bounce at the end of extension as the excess energy applied is dissipated before the sights can be employed on the target. Does this sound efficient to you? That’s right, it’s not efficient. It is counterproductive.
What is efficient? Moving from position three to position four with the movement under control at all points on a straight path with only the energy required as quickly as the gun can be delivered with the sights aligned on the target in one smooth fluid motion. The more you practice this perfectly the better your times will be and the higher your score or hit ratio when you do speed up and move as quickly as you can while maintaining this level of control.
I mentioned the word perfect in conjunction with practice. Allow me to clarify. “Practice makes Perfect” This is a bullshit phrase that is incomplete at best, and at worst coined by someone sitting behind a desk in academia whose practice was done in his imagination with no real-world experience to confirm the veracity of his postulations. He neglects to consider that you CAN practice doing the WRONG thing. Most untrained people do practice the wrong thing as taught by Uncle Spittoon out behind the barn.
So let’s straighten out the mess created by this wistful idiot. “Perfect practice makes perfect”. I would add to that, “and you have to want it” This is why I am telling you to go slow, I want you to feel every muscle, every nerve, every connection in, and with your body and mind when you are learning a new skill. I’ll go into detail in another article about the science behind all this, but for now, trust me, this is not some half-baked theory, about “perfection” it is actually about a result.
OK, now we are at position four. If you have performed it properly, your sights are aligned in front of your “Master Eye” (I’ll cover that in another article later.) If you are using the red dot, wonder of wonders it is right there and you don’t have to go on a search to find it. (hint, if you don’t see it, lower the muzzle slightly, it’s in there!) If you find you are constantly lowering the muzzle after you have reached proper extension, cam your support wrist over further until everything falls into place. Another reason for going slow
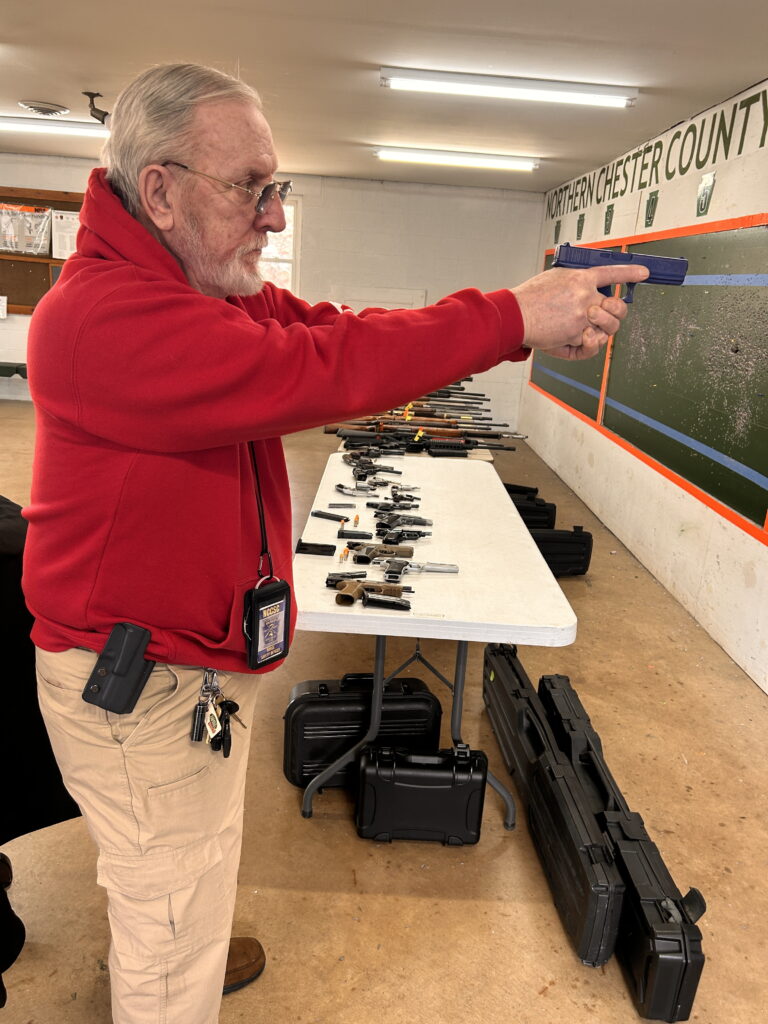
Step 5A is the actual placement of the finger on the trigger IF you have decided to shoot! Now you must move the trigger such that the sights stay on the target while the gun fires and that you perform part 5B properly. (Psst…. part 5B is follow through.) During follow-through maintain all of your discipline to the point of the “bang” and watch the sights settle back on the target. When the sights have aligned properly for the next shot you have executed follow-through successfully. Now dry fire the gun before lowering it to reload. Observe the sights as the trigger is pulled on this dry fire, did they move before the shot, or did they move with the click? If so, do 5 rounds of dry fire before you go back to live fire ensuring your sites are steady.
At this point in order to better mitigate recoil your arms should be slightly bent,and your elbows should be rotated up, very slightly, so that as they recoil the gun moves straight to the rear a in a rail horizontally as opposed to the hinging of your un-flexed straight elbows.
After you have fired the shot, and followed through, with your finger off of the trigger return to “retained Ready”, turn and scan right and left as far to the side and behind you as your flexibility will allow for other threats. There are ways to scan 360 degrees but these techniques are for another time. You can try to incorporate too many functions into one training session, so we’ll save that one too. This is a good habit to get into as in defensive shooting we always look for multiple threats. If you watch the news you already know that gangs are roaming freely.
After you have scanned, employ safeties if necessary and look at your holster, is anything fouling it which may inhibit safely holstering the gun? If so, remove it before you proceed. It is important that you look the gun into your holster and that you re-holster reluctantly. (Slowly so as not to accidentally discharge your gun. (Actually, it would be a negligent discharge, pardon my temporary lapse in insensitivity, I assure you it was unintentional.)
After round one is downrange, go through all of the steps again, remove the empty magazine using an administrative or tactical reload using the charged magazine to chamber a fresh round, and again replace the charged magazine with the empty.
Now go slowly through as many rounds as it takes (up to 50) until you tire and have difficulty being exactly the closest to perfect you can get each time with absolutely no exceptions. If you get tired before all 50 rounds are expended, stop go home, have a beer, and relax. If done properly, and may I say sincerely, you will exhaust yourself doing this drill, and no one can perform while exhausted. It takes time to build the skills, why would endurance not also?
You have now practiced in the course of this drill two reloads for each shot, and dry fired after the shot to confirm steadiness, as well as your draw from the holster and the return of the gun to the holster, most of the normal “Ready” positions, patience and endurance. That’s a good day. Don’t be stubborn and keep going when you are screwing up, but, challenge yourself. If you are NOT FAILING you are NOT LEARNING!
In another article, I will gladly explain in detail what is occurring while you are going slow, and how it affects your future ability to go fast.
Oh yeah I did say I’d explain why after the drill going slow was so important, read this to learn more: Click Here
See you next time!
George